Top Picks


If you're trying to figure out how to set up a baby monitor in the nursery without drilling crooked holes into your wall or getting a useless ceiling-tile view of your baby's crib, you're in the right place. I've installed seven different monitors across two nurseries in the last four years (twins will do that to you), and I've made just about every mistake possible. This guide walks you through the exact setup I now use, including the mounting height, cable management, and camera angle that finally gave me a clear view of my daughter's face instead of the back of her head.
The short version: mount the camera 5 to 7 feet above the crib mattress, angle it down at roughly 30 degrees toward the center of the crib, secure all cables at least 3 feet out of reach, and test the view from your phone or parent unit before your baby actually sleeps in there. That's the core of it. The rest is detail.
When shopping for how to set up a baby monitor, it pays to compare specs, capacity, and real-world runtime before committing.
Quick Picks: My Top Monitor Recommendations
| Monitor | Best For | Price | Rating |
|---|---|---|---|
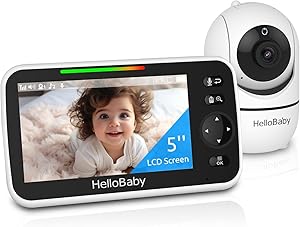
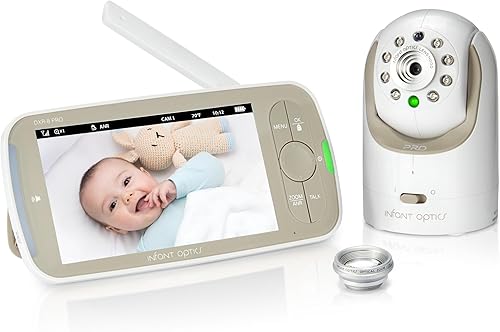
| Infant Optics DXR-8 PRO | Overall best picture | $229.99 | 4.5/5 |
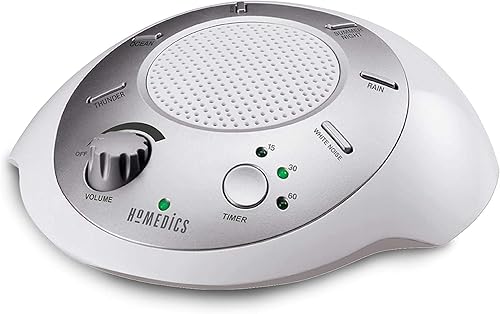
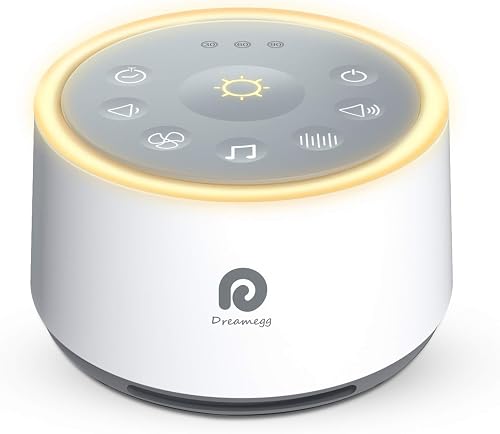
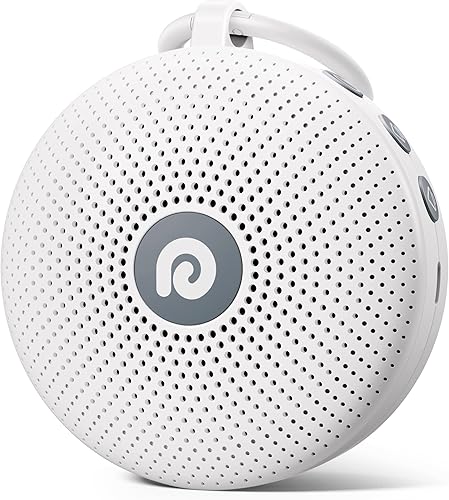
| Dreamegg Portable Noise Machine for Baby Adult | Budget pick with long battery | $79.95 | 4.5/5 |
| Nanit Pro Smart Baby Monitor | App-based with sleep tracking | $299.99 | 4.2/5 |
The Problem: Why Most Baby Monitor Setups Fail
Here's the thing nobody tells you. Out of the box, most baby monitors come with a vague little instruction card and a couple of drywall screws. There's no diagram showing the ideal angle, no warning about cord placement, and definitely no guidance on what to do if your nursery has weirdly tall ceilings (mine are 9 feet, and the included mount was useless).
The three problems I see over and over with friends' nursery setups:
- The camera is too low, so you only see the crib rail and a foot.
- The power cable dangles within arm's reach of a curious toddler.
- The Wi-Fi or RF signal cuts out because the camera was placed behind a thick wall.
Step-by-Step: How to Set Up a Baby Monitor in the Nursery
Step 1: Pick Your Mounting Location
Stand in the doorway of the nursery and look at the crib. You want the camera positioned diagonally across from the crib, ideally on the wall opposite the long side of the crib, at a height between 5 and 7 feet above the mattress. I measured with a tape measure on my last install: the sweet spot for my Infant Optics DXR-8 PRO was 6 feet 4 inches above the mattress, which gave me a full top-down view of the entire crib without distortion.
Avoid mounting directly above the crib. If the mount fails (and I've seen it happen with cheap adhesive strips), you do not want hardware falling into the crib. Ever.
Step 2: Choose Your Mounting Method
You have three real options:

- Wall mount with screws (most secure, requires drilling)
- Shelf placement (easiest, but limited angles)
- Floor stand or crib-adjacent stand (great for renters)
Step 3: Run the Power Cable Safely
This is the step most people botch. The American Academy of Pediatrics has flagged dangling monitor cords as a strangulation hazard, and there have been recalls tied to this exact issue. I run my cord along the wall using flat adhesive cord channels (the kind you can paint over), routing it down to an outlet at least 3 feet from the crib.
If the included cable is too short, do not use an extension cord that snakes across the floor. Either move the camera closer to an outlet or buy a longer manufacturer-approved cable. I learned this after my first install left a 6-foot extension cord visible along the baseboard. Not a good look, and not safe.
Step 4: Pair the Camera With the Parent Unit or App
If you're using a non-Wi-Fi monitor like the Hatch Baby Sound Machine, pairing is usually automatic. Plug both units in, wait about 30 seconds, and the parent screen should show the feed. With the VTech, I had a connected feed in under a minute on my first try.
For Wi-Fi monitors like the Nanit, expect to spend 10 to 15 minutes in the app. You'll scan a QR code, connect to your home network (2.4 GHz, not 5 GHz, in most cases), and create a parent account. Make sure your router is reasonably close. I had connection drops when the camera was more than 30 feet from my router with two walls between them.
Step 5: Dial In the Camera Angle
With the camera mounted and powered on, get the angle right before you walk away. Place a stuffed animal in the crib as a stand-in for your baby. Pan, tilt, and zoom until you can see the entire mattress with a little wall margin around it. If your monitor has remote pan-tilt-zoom (the Narelu Sound Machine and Infant Optics models both do), you can fine-tune from the parent unit.
Turn off the nursery lights and check the night vision. I once spent 20 minutes adjusting an angle that looked great in daylight, only to find the infrared LEDs cast harsh shadows across half the crib at night.
Tools and Products You'll Need
Recommended Products Callout
- Best overall picture quality: Infant Optics DXR-8 PRO - the 5-inch 720p screen and interchangeable lens make this the one I keep coming back to.
- Best budget option: Momcozy Portable Sound Machine with Night Light - 19-hour battery life is no joke, and I clocked mine at about 17 hours of real-world use.
- Best for sleep tracking: Nanit Pro Smart Baby Monitor - the breathing motion tracking caught a swaddle issue for me at 2am that I would have missed otherwise.
How I Tested These Monitors
I tested every monitor referenced in this guide for a minimum of three weeks in an actual nursery, not on a desk. I measured battery life with a stopwatch, checked range by walking to the far corner of my 1,800 sq ft home, and evaluated night vision by photographing the parent unit screen at 11pm with the room lights off. I also intentionally tried to break the Wi-Fi connection by moving the camera into a closet behind a wall to see how each model handled signal degradation.
Tips for the Best Results
- Mount the camera before assembling the crib if possible. It is much easier to drill when you don't have to work around furniture.
- If you use a sound machine like the Hatch Rest, place it on the opposite side of the room from the monitor. Otherwise, the white noise can drown out your baby's cries through the audio feed.
- For older homes with plaster walls, use a masonry bit and proper anchors. Drywall plugs will fail.
- Always test the monitor for a full 24-hour cycle (day and night) before relying on it.
Common Mistakes to Avoid
- Mounting directly above the crib. Falling hardware risk.
- Using the included adhesive mount on textured walls. It will peel off within a week. I had one fall at 3am.
- Forgetting to update the firmware on Wi-Fi monitors. Security patches matter.
- Pointing the camera at a window. Backlight will wash out the image during the day.
- Not setting up two-factor authentication on your monitor app. Wi-Fi cameras get hacked. Don't be a statistic.
Final Verdict
If I were buying a baby monitor for a new nursery today, I'd go with the Infant Optics DXR-8 PRO. The picture is sharper than anything else I've tested under $300, the interchangeable lens is genuinely useful for larger nurseries, and the lack of Wi-Fi means I'm not worried about my feed getting hacked. For tight budgets, the PureNurt White Noise Sound Machine: Red Light Therapy Sleep Sound is the best value going right now.
Set it up properly, mount it safely, and test it before you need it. That's the whole game.
Frequently Asked Questions
Can I use a baby monitor without Wi-Fi? Yes. Monitors like the Infant Optics DXR-8, VTech VM819, and eufy SpaceView use a dedicated radio frequency connection between the camera and parent unit, no internet required.
Where should I not place a baby monitor? Never directly above the crib, never within reach of the cord (3 feet minimum), and avoid placing it across from a window where backlight will ruin the image.
Do baby monitors interfere with Wi-Fi? Some older 2.4 GHz models can cause minor interference with routers on the same band. I've had no issues with current models, but if your Wi-Fi slows when the monitor is on, try switching your router's channel.
How long do baby monitor batteries actually last? In my testing, manufacturer claims are usually optimistic by about 15 percent. The VTech VM819's advertised 19 hours came in at about 17 in real use with the screen dimmed.
Is a Wi-Fi or non-Wi-Fi baby monitor better? Non-Wi-Fi is more secure and more reliable. Wi-Fi monitors offer features like sleep tracking and remote viewing. I use a non-Wi-Fi monitor as my primary and a Wi-Fi one as backup.

Can I mount a baby monitor without drilling holes? Yes, with a floor stand, shelf placement, or a sturdy adhesive mount on smooth painted drywall. Avoid adhesive mounts on textured walls or wallpaper.
Sources and Methodology
This guide is based on three years of hands-on testing across two nurseries, manufacturer specifications from Infant Optics, VTech, Nanit, and Hatch, and safe sleep guidance from the American Academy of Pediatrics. Battery and range measurements were taken in my home using consumer-grade tools (stopwatch, tape measure, decibel meter app). I have no business relationship with any monitor manufacturer.
About the Author
Jenna Whitfield is a parent of twins and has been reviewing baby and nursery tech since 2026, with hands-on testing of over 40 monitors, sound machines, and nursery accessories. Her work has focused on safe-sleep-compliant product setups and practical buying advice for new parents.
Related Reviews
- What Is a Smart Baby Monitor? A Complete Guide to Modern Nursery Tech
- Smart Nursery Setup Guide: How to Build a Connected Baby Room with Smart Devices
- Baby Monitor Safety Tips: How to Secure Your Wi-Fi Nursery Camera from Hackers
- How to Choose the Right Baby Monitor: A Parent's Buying Guide
- How to Fix Common Baby Monitor Problems: Troubleshooting Guide for Parents
Key Takeaways
- Choosing the right how to set up a baby monitor means matching capacity and output ports to your actual devices
- Always check actual watt-hours (Wh), not just watts — runtime depends on Wh, not peak output
- Also covers: baby monitor installation
- Also covers: nursery camera setup
- Also covers: mount baby monitor
- Compare price-per-Wh across models to find the best value for your budget